How to Build a DIY Workbench: Tools You Actually Need
Building a workbench is the perfect first project for a new workshop. It teaches fundamental skills, creates an essential work surface, and doesn’t require an expensive tool collection. Here’s exactly which tools you need and a practical approach to building a bench that will serve you for decades.

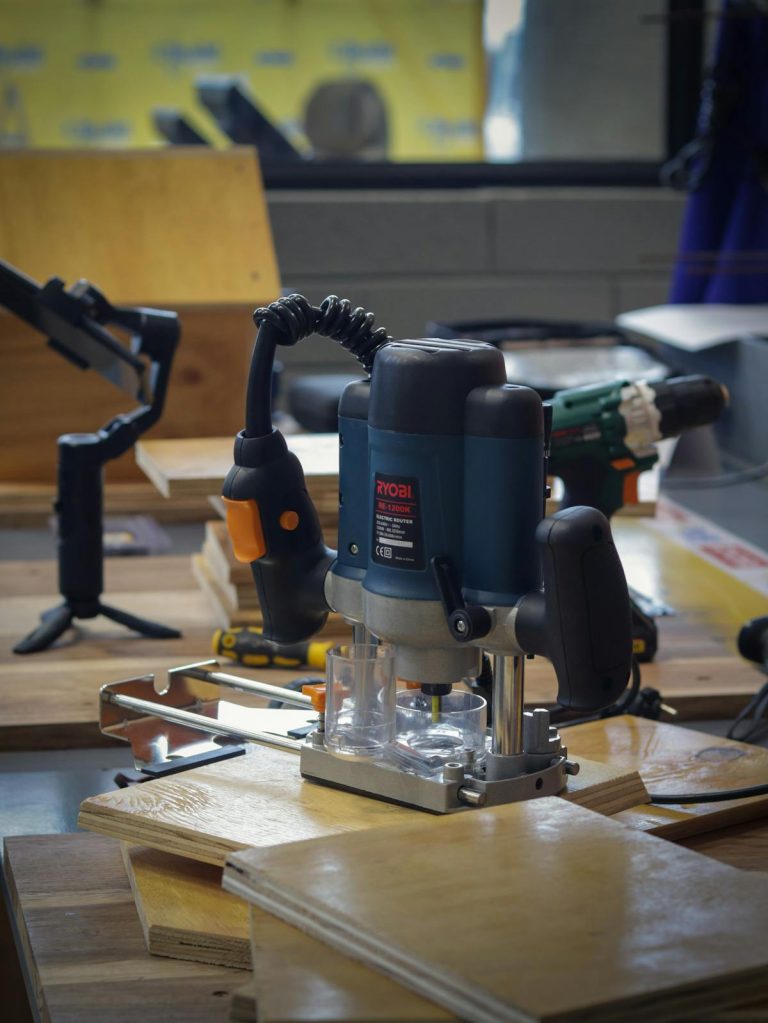
The Minimum Tool List
You can build a rock-solid workbench with surprisingly few tools. At minimum, you need a circular saw (or a hand saw), a drill/driver, a tape measure, a square, a set of clamps, and a pocket hole jig. That’s it. Don’t let anyone tell you that you need a table saw, jointer, or planer to build a workbench. Many of the finest workbenches in history were built with nothing more than hand tools. A circular saw with a straightedge guide can make cuts that rival a table saw for accuracy.

Lumber Selection
Construction lumber from your local home center is perfectly fine for a workbench. Select the straightest 2x4s and 2x6s you can find — spend extra time at the lumber rack picking through the pile. Southern yellow pine and Douglas fir are excellent choices, offering good hardness and weight at budget prices. A full-size workbench (60″ x 24″ top, 34″ tall) requires about $100-$150 in lumber. Compare that to the $400-$2,000 you’d spend on a premade bench, and the value of building your own becomes obvious.
Related Articles
- Woodworking Clamp Guide: Types, Uses, and How Many You Need
- Workshop Dust Collection: Protect Your Lungs and Keep Your Shop Clean
- Tool Storage and Organization: Build a Workshop That Works
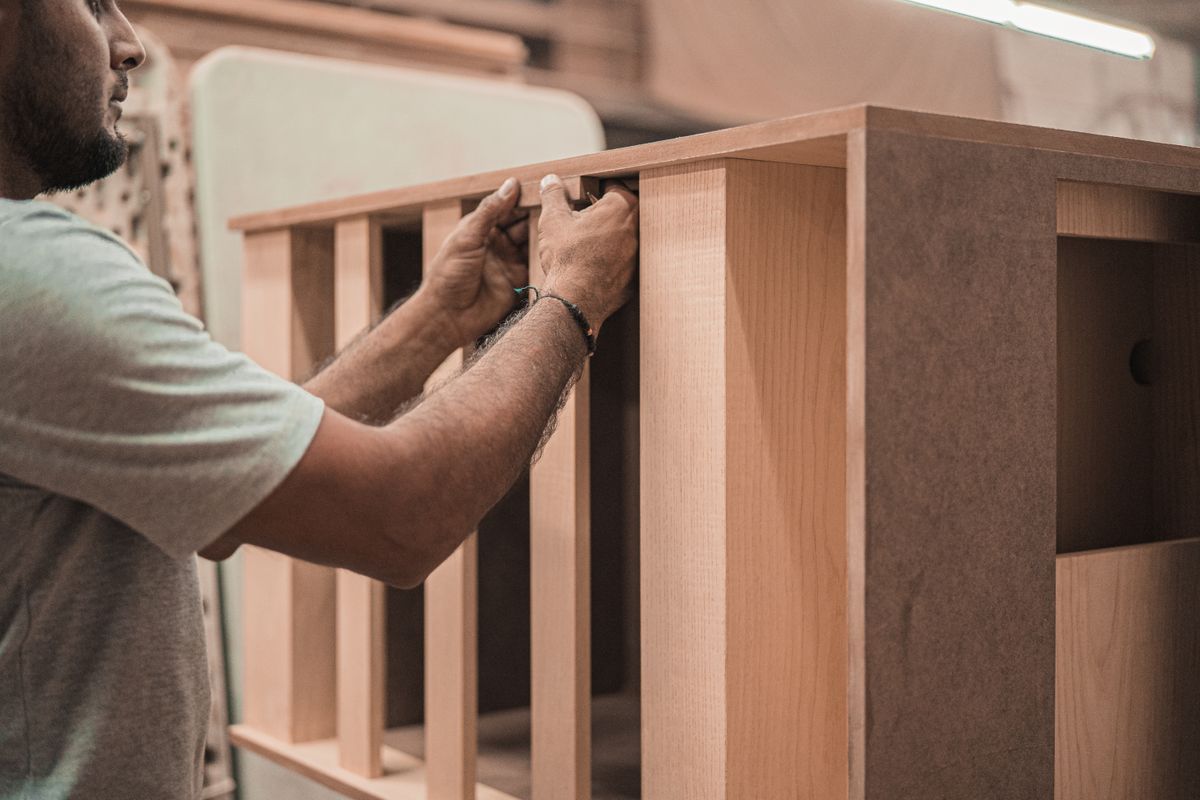
Design Principles That Matter
Three things make a workbench great: weight, flatness, and rigidity. A heavy bench won’t slide around when you’re planing or chiseling. A flat top is essential for accurate work. Rigid joints prevent racking and wobble. Use beefy joinery — half-lap joints, through-bolts, or heavy-duty pocket screws. Add a bottom shelf for weight and storage. And make it the right height for you: stand straight, relax your arms at your sides, and measure from the floor to your wrist crease. That’s your ideal bench height.

Built the workbench using mostly the tools recommended here. Took a weekend but now I have a solid bench that’ll last decades. Great article!